Integrate the PAX S300 terminal with the Cloud9 gateway via Desktop PDC.
1. Hardware Setup
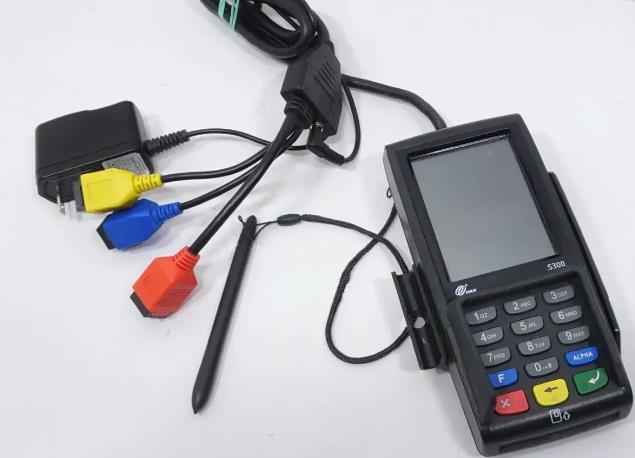
Insert the network cable into the red interface on the terminal and ensure internet access
Power on the terminal. If it shows a "NO Application" error, click Menu → Remote Download and fill in the remote IP and port to download the PAX BroadPOS Base environment
PAX S300 hardware — connect the network cable to the red interface
2. Push BroadPOS Payment App
Login to the PAX Store portal at https://paxus.paxstore.us/
Go to Administrator Center → Terminal Manager → Terminal List
Register your PAX device if not already registered
Click your registered device in the list to open the Terminal Detail page
Go to Push Task → click PUSH APP
Search for the payment app (e.g. TSYS-TC-Retail-S300)
Configure the payment params and communication settings, then push to the device
3. Download Payment App on Terminal
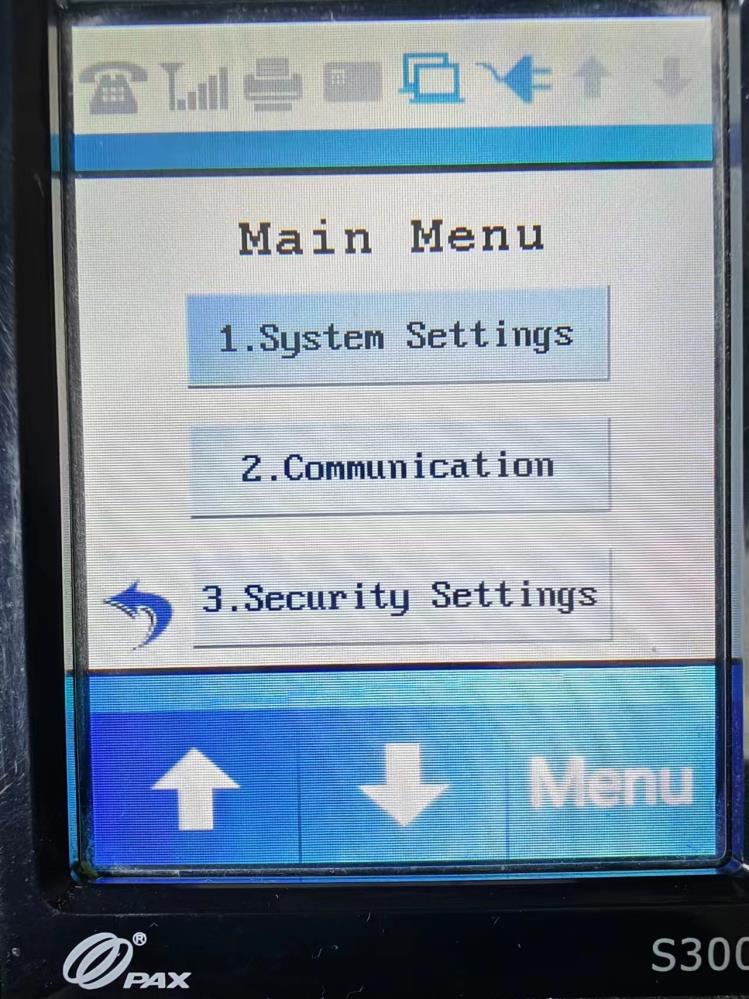
PAX S300 Main Menu — navigate to System Settings for app management
First-time Installation
Click Menu → System Settings
Select App Management
Select Configuration
Fill Server URL: t.paxstore.us, press Enter
Fill Server Port: 9080, press Enter
Press Cancel to return to App Management
Select App Update
Updating an Existing App
Important — Make sure the terminal has no open batch before updating. If it does, settle or batch it out first.
Press Func+1 and enter the password in MMDDYYYY format (current date)
Go to Main Menu → System Settings
Select App Management → Configuration
Fill Server URL: t.paxstore.us, press Enter
Fill Server Port: 9080, press Enter
Press Cancel to return to App Management
Select App Update
4. Cloud9 Portal Setup
Login to the Cloud9 portal and generate the GMID and GTID for the PAX processor.
5. Configure Desktop PDC
Change WebSocket URL to link or testlink as needed; enter the GMID and GTID generated above
Select device type and protocol, then fill in the PAX terminal's IP address and port
Click Connect PINPad Test to verify the connection
Restart the Desktop PDC — you can now run test transactions