Ingenico Tetra Setup
Configure Ingenico Tetra devices for Cloud9 gateway — Cloud PDC and Local/Desktop PDC modes.
Prerequisites
- All Tetra devices must be loaded with the latest UPP 6.80.xx
- If PIN entry is needed, the DUKPT PIN key (test version) for the required processors must be injected by the hardware provider
- For local card reader handling, download and install the Windows Payment Device Controller (PDC)
New Device
If the device is new and this is the first boot after loading the UPP application, the reader will prompt two messages:
Select: 3-NO KEY INJECTION and press "OK"
Select: 0-YES and press "OK"
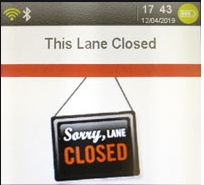
The terminal will reboot and show the "This lane closed" screen.
1. Cloud PDC
Download Card Reader Configuration
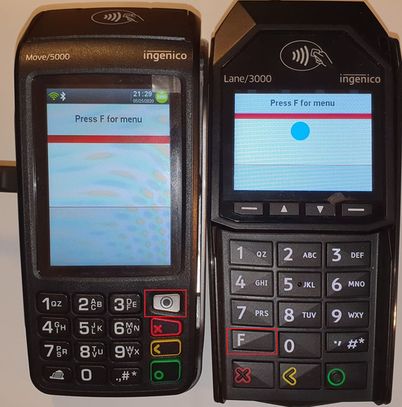
Press the 2,6,3,4 key sequence. The reader will ask to "Press F for menu". Go to the TDA menu and apply these settings:
TDA → Configuration → Communication → Select Comm.Type → Ethernet
TDA → Configuration → Communication → Ethernet Settings → Connection Method → Client
TDA → Configuration → Communication → Ethernet Settings → Boot Protocol → DHCP
(Static IP is also available if needed)
Test (testlink.c9pg.com): 34.213.177.219 or 44.228.25.245
Production (link.c9pg.com): 18.221.55.47 or 3.133.193.209
IP PORT → 12009
SSL → None
Note: SSL encryption will be automatically re-enabled after the successful configuration download.
Press the Cancel (red) button until the terminal asks "Save and Reboot?" and press Yes.
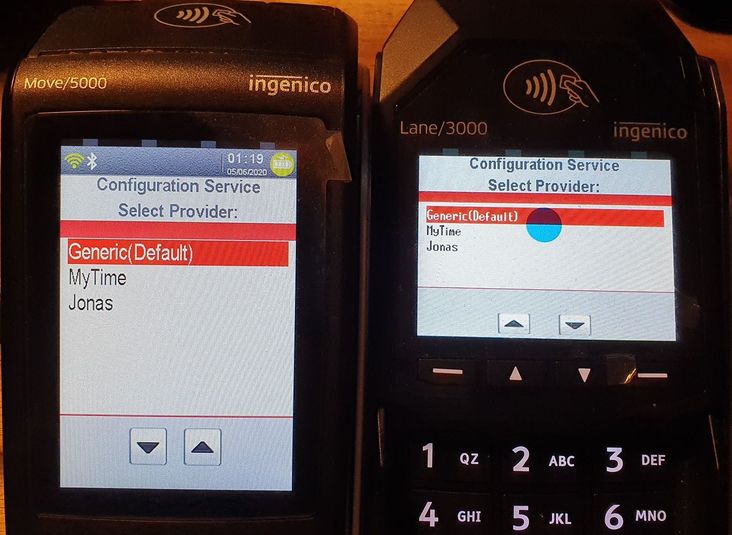
Choose configuration version: Generic (Default)
The device will download the configuration package, reboot twice, then briefly show "Connected" followed by "This lane closed" (standby mode).
Create a Merchant Account
- Go to the 911 portal and create a Store, then a Profit Center. Note the GMID.
- Create a Terminal under the Profit Center merchant. Note the GTID (optional).
Register the Card Reader
Register the card reader to a specific merchant account using one of two methods:
- Call
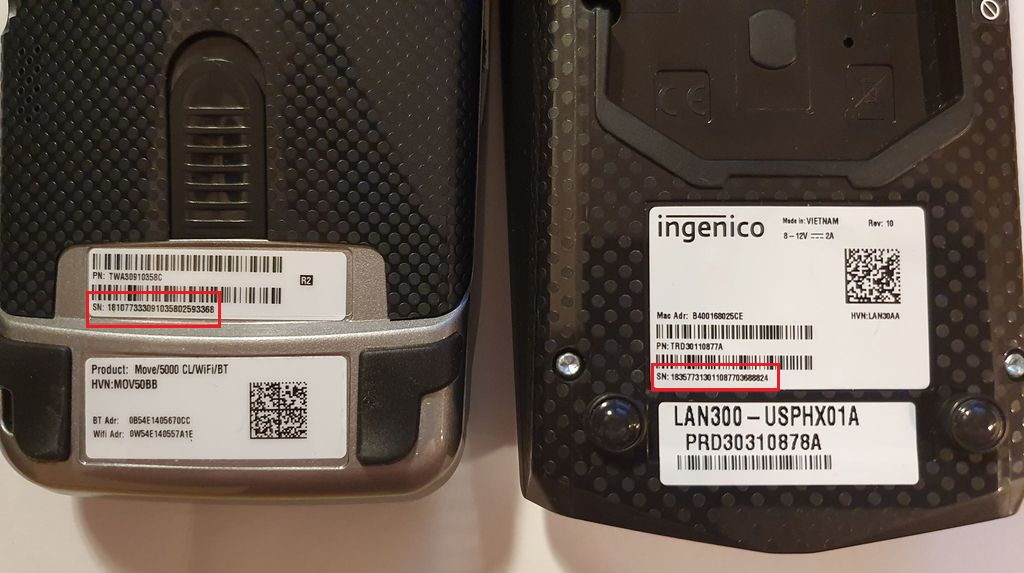
Registerusing GMID and the card reader Serial Number — the system will generate and return a new GTID - Call
Registerusing GMID/GTID and the card reader Serial Number
"IsOffline": "Y" flag to force offline registration. To reassign the reader, call Unregister first.
Run a Transaction
POST a transaction request to:
Test: https://testlink.c9pg.com:11911/QuickChip?GMID=YourGMID
Prod: https://link.c9pg.com:11911/QuickChip?GMID=YourGMID{
"GMID": "1110222484",
"GTID": "GT1120095178",
"AllowsPartialAuth": "N",
"MainAmt": "500",
"TipAmt": "100",
"InvoiceNum": "000004",
"TransType": "Sale",
"IsOffline": "N",
"Medium": "Credit",
"NeedSwipCard": "Y"
}2. Local/Desktop PDC
Download Card Reader Configuration
Follow the exact same Steps 1–6 as the Cloud PDC setup above. At Step 7, choose configuration Jonas instead of Generic.
Create a Merchant Account
- Go to the 911 portal and create a Store, then a Profit Center. Note the GMID.
- Create a Terminal under the Profit Center merchant. Note the GTID.
Configure Local PDC
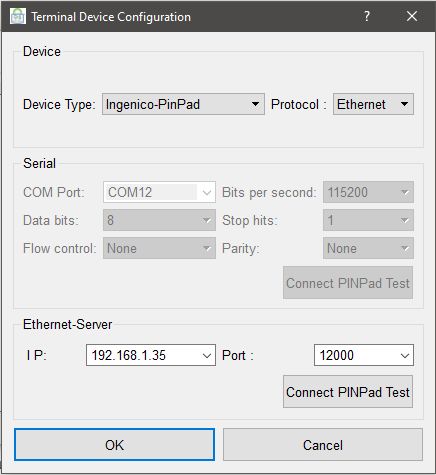
In the PDC app, go to Settings → Terminal Device Configuration:
- Select device type:
Ingenico PinPad - Select protocol:
Ethernet - Fill in the IP address of the device
- Fill in the port:
12000
Run a Transaction
Send a request from your app to the Desktop PDC:
WebSocket: wss://127.0.0.1:5556
HTTPS: https://127.0.0.1:5554/PDC{
"GMID": "1111111",
"GTID": "GT2222222",
"MainAmt": "100"
}Troubleshooting
If the device is blank and has no payment application loaded (UPP), it will show a blank/error screen. Contact your hardware provider to load the UPP.
This is the default standby screen while the device is idle — it is not an error message.
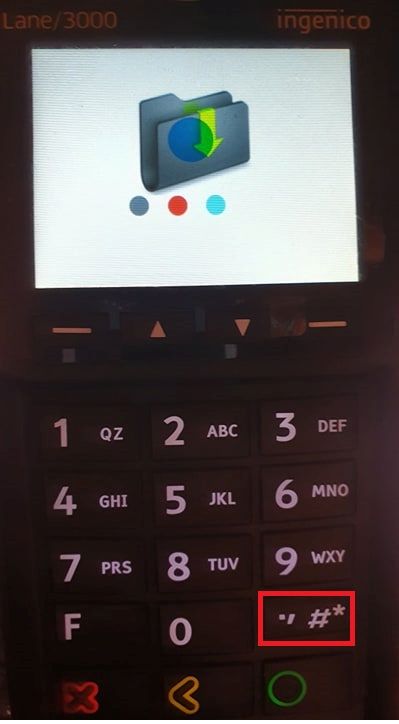
Press and hold both the < (Yellow Back) button + .,#* button simultaneously.